

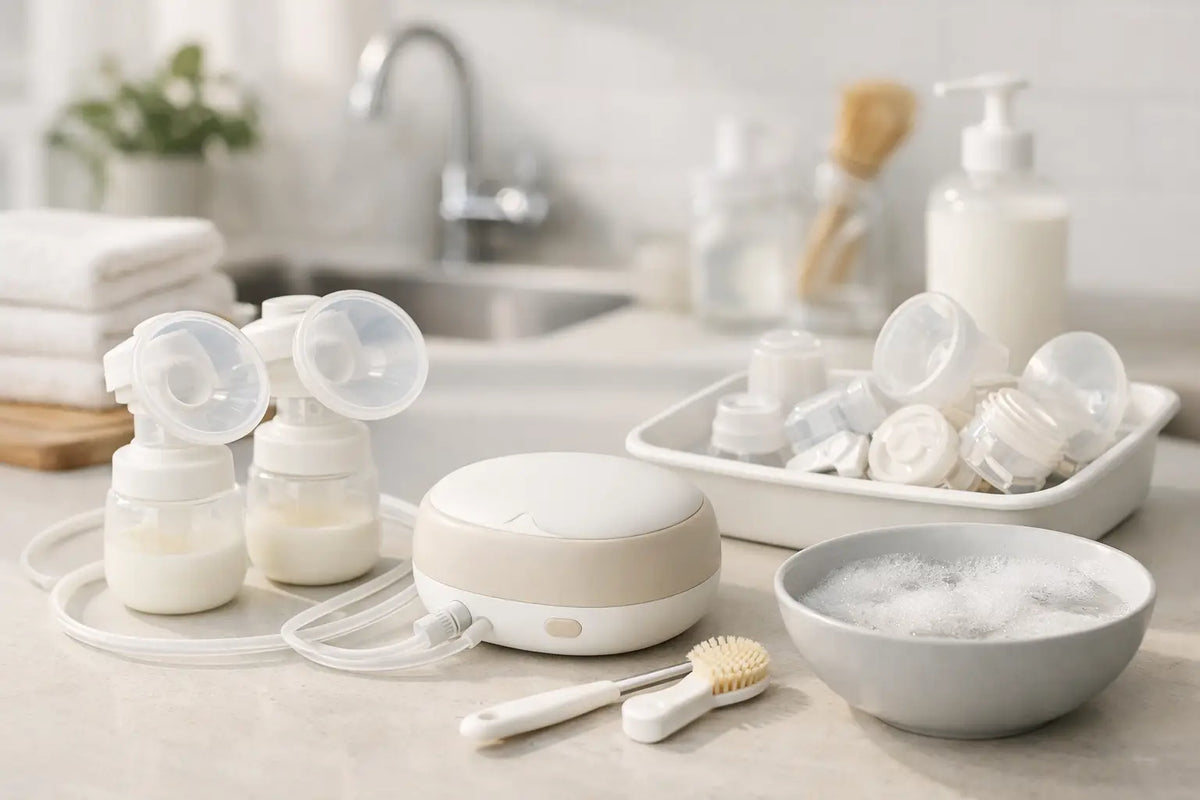
A pumping session can take place before sunrise, between meetings, or in the quiet minutes while everyone else is sleeping. In those moments, a breast pump cleaning routine should feel like a small act of care, not another overwhelming task on your list. The goal is simple: keep every milk-contact part clean, dry, and ready for your next session, while protecting your time and your peace of mind.
You do not need a complicated system. You need a consistent one that works in the rhythm of your day.
Why Cleaning Pump Parts Matters
Expressed milk is rich in nutrients, which means any milk residue left on pump parts can allow germs to grow. Cleaning the pieces that come into contact with milk after every use helps reduce that risk and helps protect the quality of the milk you worked so hard to express.
It also protects your pump experience. Dried milk can collect in small corners, affect the fit of parts, and make a simple wash feel much harder later. A few mindful minutes after pumping is usually gentler than facing a pile of dried parts at the end of a long day.
Every pump has its own components, so always begin with the instructions supplied with your particular model. In general, the breast shields or flanges, valves, membranes, connectors, collection cups, and any other milk-contact pieces need regular cleaning. The motor should not be submerged. Tubing usually does not need routine washing unless it has milk or moisture inside it.
Your Breast Pump Cleaning Routine After Each Session
Start by washing your hands well with soap and water. This small step matters, especially when you are moving quickly from one task to the next.
Next, carefully take apart the milk-contact parts. Separate pieces according to your pump instructions so water can reach the surfaces where milk may have collected. If you see milk inside tubing, remove it from the pump and follow the manufacturer’s guidance for cleaning and drying it. If tubing is only damp from condensation, it may simply need to air-dry thoroughly before the next use.
Rinse the parts under running water to remove visible milk. Then wash them in a clean basin used only for feeding equipment, rather than directly in the kitchen sink. Use warm water, dish soap, and a dedicated clean brush. Give particular attention to valves, membranes, and narrow openings, where residue can hide.
Rinse each piece well under running water. Place the parts on a clean paper towel or a dedicated drying rack in a protected area, where they can air-dry completely. Avoid drying them with a dish towel, which can transfer germs or lint. Once fully dry, store the parts in a clean, covered container or a fresh storage bag until you need them again.
This is the heart of a practical breast pump cleaning routine: wash, rinse, air-dry, and store clean. Simple enough to repeat, even on the days that feel anything but simple.
If You Are Pumping Away From Home
A return to work, a long appointment, or travel can make cleaning feel less straightforward. Planning a small pump-care kit ahead of time can make a meaningful difference. Include a clean wash basin, travel-size dish soap, a dedicated brush, clean paper towels, and a storage bag for dry parts.
If you have access to a private sink, wash parts as soon as you can. If not, place used parts in a clean, sealed bag and clean them properly at the earliest opportunity. It can be tempting to leave milk residue until you get home, especially after a demanding day, but prompt cleaning is the safer habit.
A second set of pump parts can also be a lovely form of practical support. It gives you breathing room when one set is drying and reduces the pressure to rush through a wash. For many mothers, this is not about having more things. It is about making space for a calmer day.
Cleaning Is Not Always the Same as Sanitizing
Washing removes milk residue and germs from pump parts. Sanitizing is an additional step that further reduces germs after parts have been cleaned. Depending on your baby’s age, health needs, and your health professional’s advice, sanitizing may be recommended daily.
Extra care is often advised when a baby is younger than 2 months, was born prematurely, or has a weakened immune system. In these circumstances, speak with your pediatrician or lactation professional about the routine that is right for your family.
Some pump parts can be sanitized by boiling, using steam, or placing them in a dishwasher with a sanitizing setting. However, materials vary. Heat can damage certain pieces, so the manufacturer’s instructions should always guide you. Sanitizing does not replace washing. Parts should be cleaned first, then sanitized when appropriate, and allowed to air-dry fully.
The Parts That Need a Little More Attention
Some pump components are small but essential. Valves and membranes support effective milk expression, yet they are also easy to misplace or overlook during washing. Check them carefully for milk residue, tears, stretching, or warping. A worn part may affect suction, so replace it according to your pump’s recommendations.
Flanges deserve attention too. They should be cleaned after each use and examined regularly for cracks, cloudiness, or rough edges. Comfort matters. If pumping feels painful, causes rubbing, or leaves your nipple looking compressed after a session, the flange size or fit may need reassessment. Clean parts are essential, but the right fit is part of caring for your body as well.
The exterior of the pump motor can be wiped with a clean, slightly damp cloth if needed. Keep moisture away from charging ports and openings. Never place the motor in water, and do not use harsh cleaning chemicals unless the manufacturer specifically says they are safe.
Make the Routine Easier on Tired Days
The best routine is one you can actually maintain when you are exhausted. Keep your cleaning supplies together near your usual pumping space. If your kitchen is far away, a small caddy with soap, a brush, and a drying surface can save steps when your arms are full and your energy is low.
Try pairing cleanup with the natural end of your session: once milk is stored safely, wash the parts before moving on to the next task. This reduces the chance that residue dries while you answer a message, settle into bed, or get pulled into the many needs of the day.
It also helps to create a clear boundary between used and clean parts. Designate one area for pieces waiting to be washed and another for fully dry, ready-to-use pieces. This is especially reassuring in a busy household, where items can easily be moved or mixed together.
Do not rely on a quick wipe or a rinse alone as your regular cleaning method. And while refrigeration may seem like a convenient shortcut between pumping sessions, it does not replace washing. If you are considering any modified cleaning approach because of work, travel, or a particularly difficult season, ask a qualified health professional for guidance that suits your circumstances.
When to Ask for Support
If you notice recurring moisture in tubing, reduced suction, visible buildup you cannot remove, or discomfort during pumping, pause and assess the issue. Sometimes the solution is a replacement part, a better flange fit, or a simple adjustment to your setup. You do not have to keep working around a problem that makes pumping harder.
Lactation support can be especially valuable when cleaning concerns are tied to pumping frequency, low output worries, pain, or returning to work. At Noora Motherhood, mothers are met with both thoughtfully designed pumping essentials and expert-led guidance because practical care and emotional reassurance belong together.
A clean pump is not a measure of perfect motherhood. It is one quiet way to care for your milk, your baby, and yourself. Keep the routine simple, ask for help when you need it, and remember: you are doing amazing, mama.


