

A pumping session can leave you with a lot to hold at once: milk to store safely, a body that needs rest, and parts waiting by the sink. Learning how to sanitize pump parts gives you one less thing to second-guess. The goal is not perfection. It is a simple, safe routine that protects the milk you worked hard to express while fitting into real postpartum life.
Sanitizing is an extra germ-reduction step after washing. It does not replace careful cleaning, and it is not always needed after every single session. For most healthy, full-term infants, thoroughly washing pump parts after each use is the foundation. Sanitizing may be especially helpful when your little one is under 2 months old, was born prematurely, has a weakened immune system, or when your healthcare professional recommends it.
Start With the Pump Manual
Before you sanitize any part, check the instructions that came with your specific pump. Materials vary, and so do manufacturer recommendations. Some components tolerate boiling water, while others may warp, cloud, or lose their seal when exposed to high heat.
For a portable pump such as the Noora MightyMini, the motor and any electronic pieces must never be submerged. Only the washable parts that come into contact with milk should be cleaned and sanitized. If you are unsure whether a valve, diaphragm, connector, flange, or collection cup is safe for a particular method, follow the pump manual rather than guessing.
This matters because a damaged part can affect suction, comfort, and milk flow. A clean routine should support your pumping experience, not create another problem to solve.
Wash First, Then Sanitize Pump Parts
Sanitizing works best on parts that are already visibly clean. Milk residue can protect germs from the sanitizing method, so do not skip the wash.
Begin by washing your hands well with soap and water. Take the pump apart according to the manual, separating all pieces that touch milk. Rinse each piece under running water to remove milk residue, then wash in a clean basin used only for infant feeding and pumping equipment. Use warm water, dish soap, and a brush reserved for these items.
Avoid washing parts directly in the kitchen sink. Even a sink that looks clean can carry residue from food preparation. Once every surface has been scrubbed, rinse thoroughly under running water. Pay special attention to small openings, valves, and edges where milk can collect.
A dishwasher may be appropriate for dishwasher-safe parts. Place smaller components in a closed mesh bag or basket so they are not lost or damaged, and use a heated drying cycle if the manufacturer permits it. If any part is not dishwasher-safe, hand-washing remains the gentler choice.
Choose a Sanitizing Method That Fits Your Parts
There is more than one safe way to sanitize pump parts. The best choice depends on the materials, your pump instructions, and what feels manageable in your day.
Boiling water
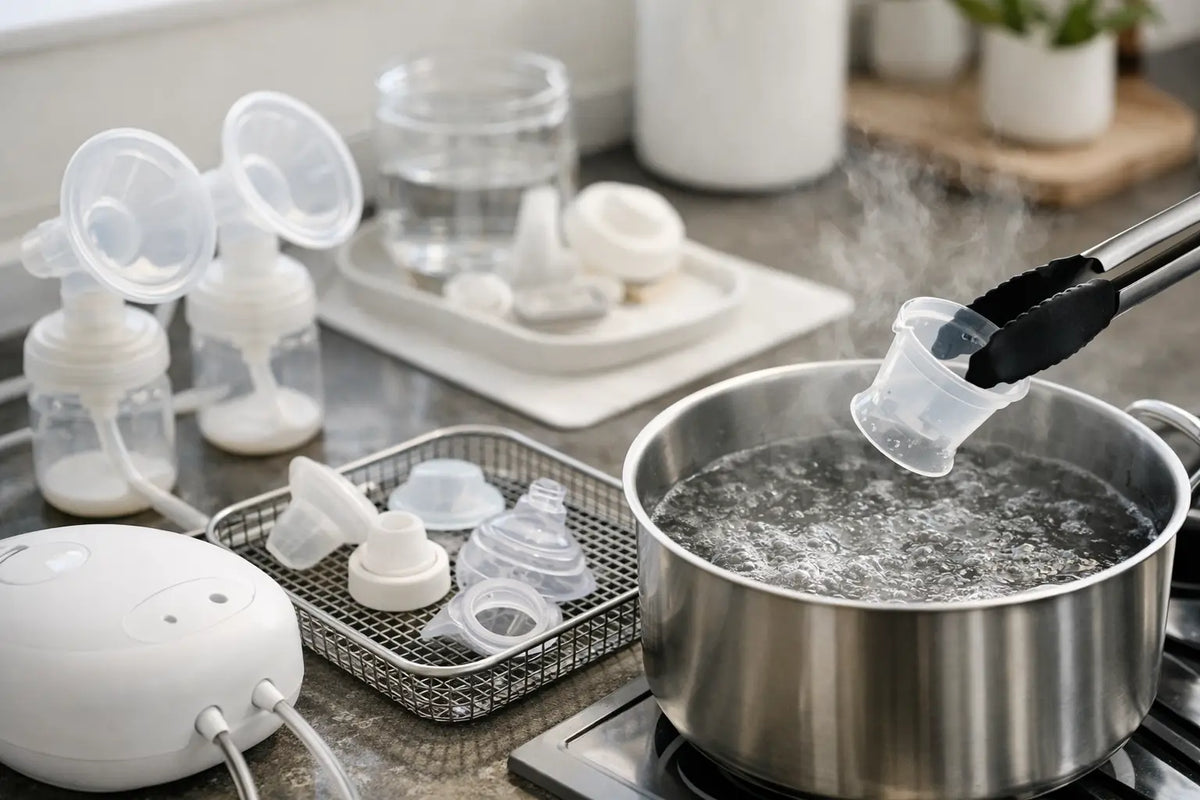
Boiling is a reliable option for heat-safe parts. Bring enough water to a full boil in a clean pot so the pieces can be completely submerged. Add only components approved for boiling, and keep them in the water for the time stated in the manufacturer instructions. If no timing is given, follow the guidance from your healthcare professional or the relevant public health authority.
Use clean tongs to remove the parts rather than reaching into the water with your hands. Place them on a clean paper towel or a fresh, unused drying rack. Do not use a dish towel to dry them, as towels can transfer germs and lint.
Steam sanitizing
Microwave steam bags and countertop steam sanitizers can be convenient when time and counter space are limited. They are particularly helpful during busy weeks when washing up can feel like one more mountain to climb.
Only use steam methods with parts specifically labeled safe for them. Follow the water amount and heating time exactly. Too little water can damage the parts or the sanitizer, while overheating can affect delicate silicone pieces.
Dishwasher sanitizing settings
Some dishwashers have a sanitizing cycle or a heated dry setting that can sanitize dishwasher-safe pump parts. This can be a practical choice if you already use the dishwasher daily. Check that the parts are secure, separated, and approved for the cycle before running it.
Cold-water sanitizing solution
Cold-water sanitizing products can be useful when boiling or steam is not practical. Choose a product intended for infant feeding equipment and use it exactly as directed. The concentration and soaking time matter, so do not estimate. Some solutions require air-drying afterward, while others have different instructions.
Let Parts Air-Dry Completely
After sanitizing, drying is not an afterthought. Damp parts stored too soon can encourage germs to multiply, especially in warm or humid spaces.
Set the pieces on a dedicated clean drying rack or on fresh paper towels in an area away from splashes. Allow every part to air-dry fully before reassembling the pump. Resist the urge to pat pieces dry with a kitchen towel, even when you are in a hurry.
Once dry, assemble the pump with clean hands or store the parts in a clean, covered container. Do not leave them exposed on the counter for long periods, where dust and household moisture can settle on them. A sealed plastic container that is cleaned regularly can work well for this purpose.
How Often Should You Sanitize?
The answer depends on your infant's health, age, and your household routine. Washing all milk-contact parts after every use is the essential step. Sanitizing once a day may provide added reassurance for families with very young infants, infants born early, or those with health conditions that make infection more concerning.
If your infant is healthy and older, you may not need to sanitize after every pumping session. Clean washing, complete air-drying, and proper storage are often enough. Still, if there has been illness in the household, a part has fallen onto an unclean surface, or you simply need more confidence in your routine, sanitizing is a reasonable extra layer of care.
If your pediatrician or lactation consultant gives you guidance specific to your situation, that advice comes first. Feeding and pumping plans are personal, and the safest routine is the one that suits your family's needs without adding unnecessary pressure.
Small Habits That Keep Your Routine Safer
A few thoughtful habits make cleaning easier over time. Keep a separate wash basin, brush, and drying rack for pump equipment. Replace brushes when they look worn, and wash the basin and rack with soap and water after use.
Clean the pump's exterior and work surface regularly, especially if you pump at a desk, bedside table, or in a shared family space. Wipe the motor with a soft cloth according to the manufacturer's instructions, keeping moisture away from charging ports and openings.
Finally, inspect your parts often. Silicone valves, membranes, and seals can wear down, stretch, or tear. A part that looks cloudy, cracked, sticky, or misshapen deserves attention. Replacing worn pieces supports both hygiene and reliable pump performance.
There is no prize for making pumping care complicated, mama. Build a routine you can repeat on tired days: wash carefully, sanitize when it is appropriate for your family, let everything dry completely, and ask for expert support when something feels unclear. Every drop reflects your care, and you are doing amazing.


